 Save
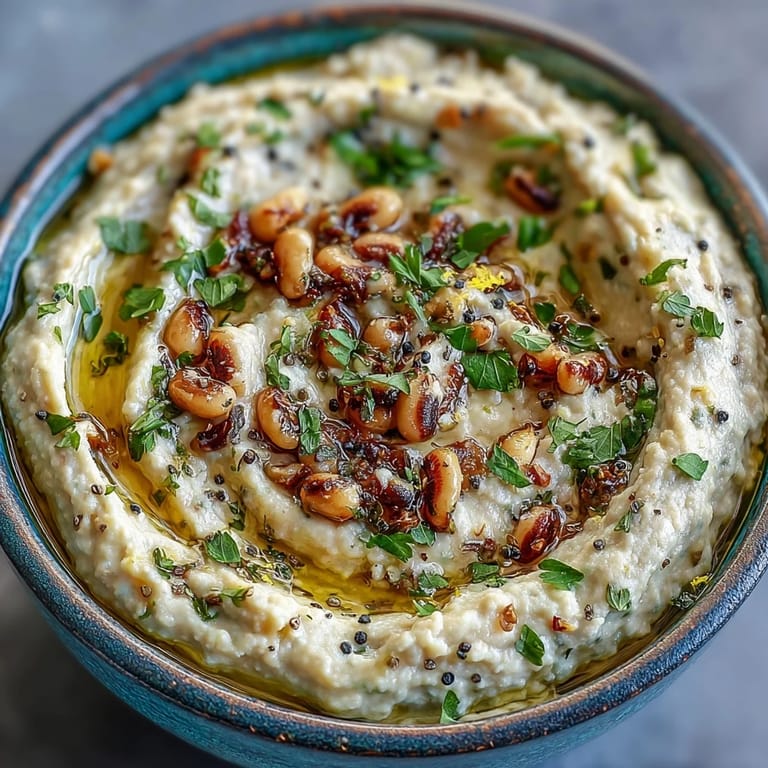
Save There's something about black-eyed peas that makes you slow down in the kitchen. My neighbor brought over a container of them one afternoon, still warm from her pot, and I found myself mashing them on the spot with whatever garlic and lemon I had nearby. That casual moment turned into something I now make whenever I need food that feels both humble and elegant, the kind of dish that works equally well at a weeknight dinner or when people drop by unexpectedly.
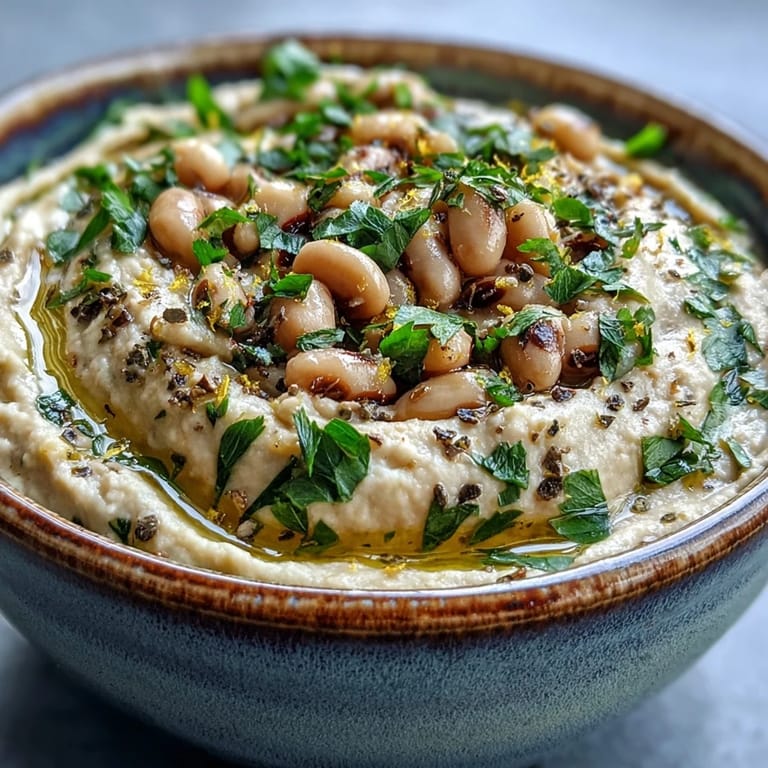
I served this at a casual dinner party where someone brought store-bought hummus, and I watched people reach for my humble bowl instead. No one expected peas to taste this good, and that moment of quiet surprise reminded me that the best dishes are often the ones that don't announce themselves.
Ingredients
- Black-eyed peas: Use canned if you're short on time, but rinse them well to remove excess sodium and that tinny taste that canned beans sometimes carry.
- Garlic: Fresh minced works best, though a small pinch of garlic powder can substitute if you're in a real pinch.
- Extra-virgin olive oil: Don't use the cheap stuff here; this is where quality actually matters since the oil's flavor comes through clearly.
- Fresh lemon juice: Bottled works, but fresh lemon brings a brightness that feels alive on your tongue.
- Lemon zest: This tiny detail adds complexity and keeps the flavor from feeling one-dimensional.
- Sea salt and black pepper: Taste as you go, since canned peas vary in how much salt they already contain.
- Ground cumin: Optional, but it adds a subtle warmth that makes people wonder what the secret is.
- Fresh parsley: Mostly for looks and that final fresh note, but it changes the whole presentation.
Tired of Takeout? 🥡
Get 10 meals you can make faster than delivery arrives. Seriously.
One email. No spam. Unsubscribe anytime.
Instructions
- Gather and combine:
- Drain your black-eyed peas and tip them into a mixing bowl along with minced garlic. There's something meditative about this step, the way the peas tumble in.
- Build the flavor:
- Pour in the olive oil, lemon juice, and zest, then add salt, pepper, and cumin if you're using it. Stir everything together so the seasonings distribute evenly.
- Mash to your texture:
- Using a potato masher or fork, press down and fold the peas, aiming for mostly smooth but with some chunks remaining. This texture is what makes it interesting, not baby food.
- Taste and adjust:
- Pinch a bit with your finger and taste it. You might want more lemon, more salt, or a whisper more garlic. This is your moment to make it yours.
- Serve with style:
- Transfer to a serving bowl, drizzle a little more olive oil on top, and scatter parsley if you have it. The little touches make people think you spent more time than you did.
 Save
Save My daughter once took this to a potluck and came home saying her friend's mom asked for the recipe. She'd written it down while eating, which felt like the highest compliment a simple dish could receive.
The Secret of Texture
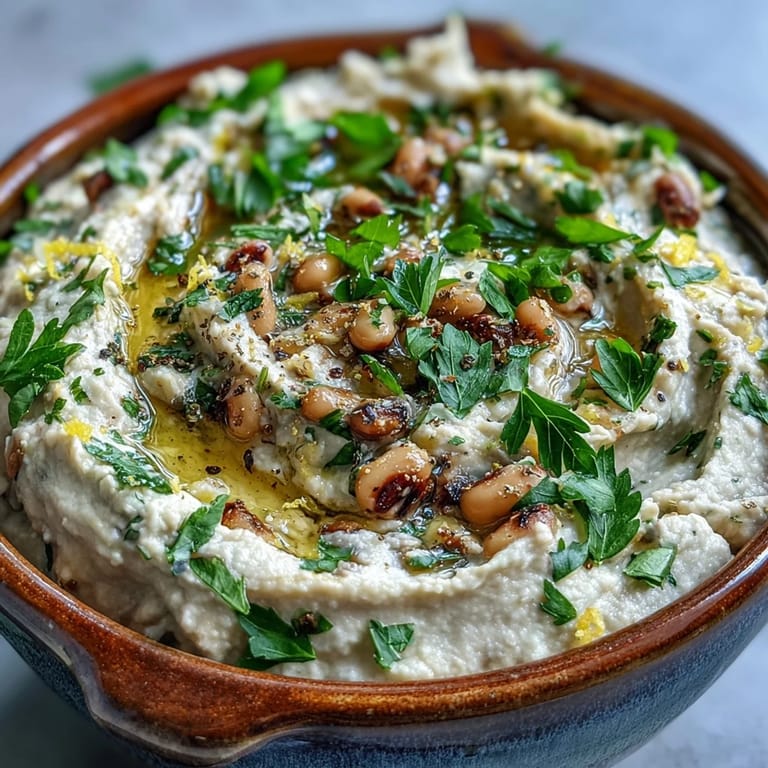
Most people make the mistake of blending this into oblivion, turning it into something too smooth and paste-like. The magic happens when you leave it deliberately rustic, letting whole peas peek through the creamy base. It's the difference between a dip that feels homemade and one that feels processed.
Timing and Temperature
You can serve this warm right after making it, or let it sit at room temperature for a few hours and the flavors actually deepen. Some people refrigerate it and serve it cold, which works too, though the lemon becomes more assertive and you might want to dial back the amount slightly. The flexibility is part of why this dish has stayed in my rotation for so many years.
Ways to Use It
Beyond the obvious dip situation, I've spread this on toast and topped it with a soft-boiled egg, stirred it into grain bowls, and served it alongside roasted chicken. It's become my quiet answer to the question of what to make when you don't have much time but want something that tastes intentional. The versatility sneaks up on you once you have a batch in your fridge.
- Serve it warm with pita or crispy flatbread for scooping and eating with your hands.
- Add a pinch of smoked paprika or chili flakes if you want a subtle kick of heat.
- Make it ahead and refrigerate; the flavors actually improve after a few hours of sitting together.
 Save
Save This dish taught me that sometimes the best things come from working with what you have on hand rather than waiting for the perfect recipe. Make it, taste it, adjust it, and make it your own.
Recipe FAQ
- → Can I use dried black-eyed peas instead of canned?
Absolutely. Soak dried peas overnight, then simmer until tender before proceeding with the mashing step. This method allows for deeper flavor infusion and control over texture.
- → How long will this keep in the refrigerator?
Store in an airtight container for up to 5 days. The flavors meld and intensify over time, making it an excellent make-ahead option for gatherings or meal prep.
- → What's the best way to achieve the perfect texture?
Use a potato masher for optimal control, stopping when mostly smooth but retaining some small chunks for satisfying texture. A food processor creates ultra-creamy results if you prefer a completely smooth dip.
- → Can I freeze smashed black-eyed peas?
Yes, freeze for up to 3 months. Thaw overnight in the refrigerator and stir well before serving. You may need to add a splash of olive oil to restore creaminess.
- → What variations work well with this base?
Incorporate roasted red peppers, sun-dried tomatoes, or fresh herbs like cilantro and dill. A pinch of smoked paprika or harissa adds warmth while tahini creates an extra creamy, nutty variation.
- → Is this suitable for meal prep?
Excellent for meal prep. Prepare a batch on Sunday and portion throughout the week for quick snacks, lunch sides, or effortless dinner accompaniments.