 Save
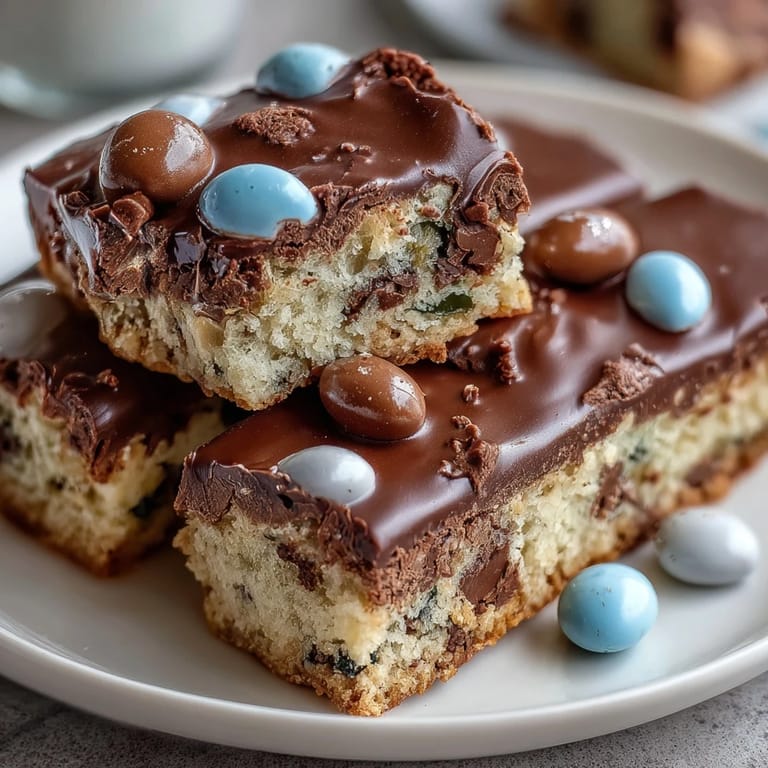
Save My kitchen smelled like melted butter and chocolate the afternoon my neighbor stopped by with a bag of pastel M&Ms, asking if I could make something festive for her Easter brunch. I'd never considered mixing candy into cookie bars before, but watching her describe these pastel-colored treats sparked something—why not lean into spring with actual Easter candies baked right in? Two hours later, I was cutting into the warmest, chewiest bars studded with Cadbury eggs and rainbow M&Ms, and she texted three people asking for the recipe before she even left my driveway.
I made these for my coworker's desk on a random Tuesday, mostly because she'd mentioned missing Easter treats in July. When she bit into one and got that surprised look—you know, the one where someone realizes something tastes way better than they expected—I knew these bars had staying power. She asked me to make them monthly, and that's when I understood that timing doesn't matter; good candy-filled cookies are basically a love language.
Ingredients
- All-purpose flour: The foundation that keeps these bars structured but still tender—don't sift it unless you love dense, tight crumbs.
- Baking soda: This is your leavening agent, giving the bars lift without making them cake-like; too little and they'll be dense, too much and they'll spread awkwardly.
- Salt: A quarter teaspoon might seem small, but it's what makes the chocolate and candy flavors pop instead of feeling one-dimensional.
- Unsalted butter, melted and slightly cooled: Melting it first means you skip the creaming step and gain a denser, chewier texture—this is the secret move.
- Light brown sugar and granulated sugar: The combination of molasses (in brown sugar) and pure sweetness creates depth; using only one type leaves the bars feeling flat.
- Eggs: Room temperature eggs incorporate more smoothly, creating a cohesive dough rather than a lumpy, separated one.
- Vanilla extract: Pure vanilla matters here because imitation can taste slightly off when baked; don't skip or substitute with almond extract unless you want a completely different vibe.
- Cadbury mini eggs: Chopped roughly so they distribute throughout without crushing into powder; the chocolate adds richness while the candy shell provides texture.
- Pastel M&Ms: These are different from regular M&Ms in color and sometimes flavor, giving you visual spring vibes and a slightly different chocolate experience.
Tired of Takeout? 🥡
Get 10 meals you can make faster than delivery arrives. Seriously.
One email. No spam. Unsubscribe anytime.
Instructions
- Set your oven and pan up:
- Preheat to 350°F (175°C) while lining a 9x13-inch pan with parchment paper, leaving overhang on two sides so you can lift the whole batch out later without it sticking. This step feels small, but cold pan means uneven baking edges.
- Whisk dry ingredients together:
- Combine flour, baking soda, and salt in a medium bowl, making sure everything is evenly distributed so no pockets of baking soda create bitter spots. Setting this aside now means you're ready to fold without scrambling.
- Blend the wet base:
- Whisk melted butter with both sugars until smooth, then add room-temperature eggs and vanilla, whisking until the mixture looks pale and slightly fluffy. This takes about 2 minutes of actual whisking—don't rush it or skip the texture step.
- Combine wet and dry gently:
- Fold the dry mixture into the wet mixture using a spatula, stopping as soon as you don't see streaks of flour. Overmixing at this point develops gluten and makes the bars tough instead of tender.
- Fold in the candy and eggs:
- Gently fold in the chopped Cadbury mini eggs and half the pastel M&Ms, being careful not to crush them into pieces. The moment you see them evenly distributed, stop.
- Spread and decorate:
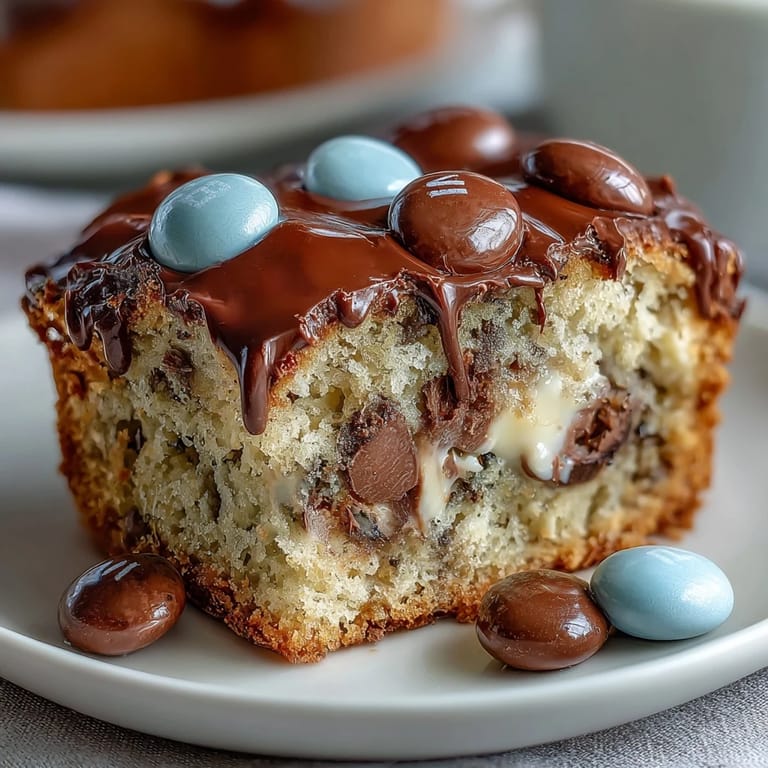
- Pour the dough into the prepared pan and smooth it into an even layer, then sprinkle the remaining M&Ms and a few extra mini egg pieces across the top for visual appeal. This isn't just decoration—it catches during baking and creates pockets of melted candy on the surface.
- Bake with intention:
- Bake for 23 to 26 minutes, watching for golden edges while the center still looks slightly underbaked when you gently jiggle the pan. The residual heat continues cooking as they cool, so pulling them out a minute early gives you that chewy texture everyone craves.
- Cool completely before cutting:
- Let the bars rest in the pan until completely cool (about 1 to 2 hours), then lift out using the parchment overhang and cut into 16 squares using a sharp knife. Cutting while warm causes crumbles; cutting when cool gives you clean edges.
 Save
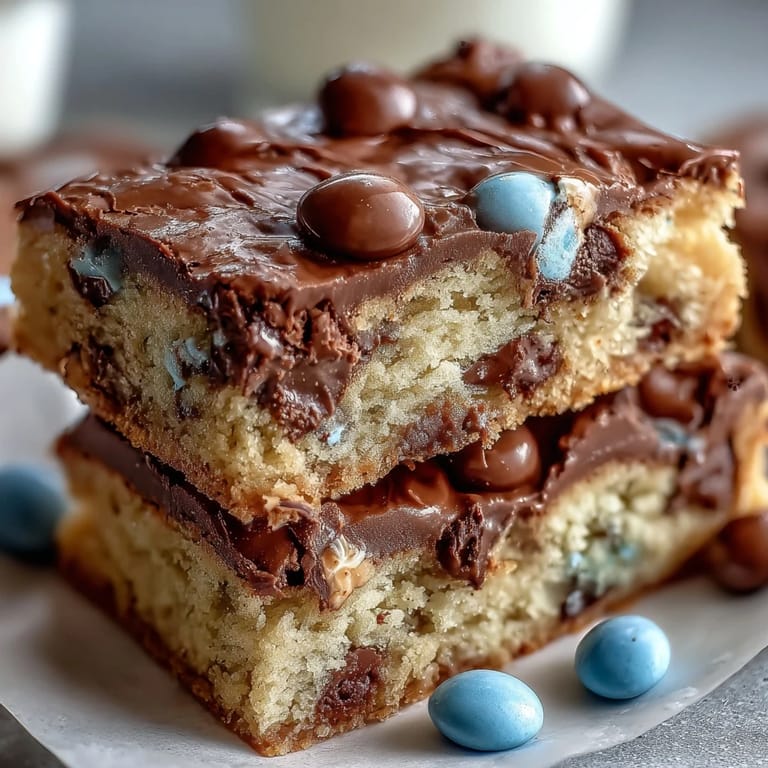
Save There's something magical about watching someone bite into a bar and discover the gooey chocolate inside, especially when they weren't expecting the texture combination. These bars became the thing I reach for when I want to make someone smile without spending hours in the kitchen.
Texture Secrets That Actually Matter
The key to these bars hitting that perfect chewy-but-set texture is understanding that the edges and center bake at different rates. Edges brown and firm up quickly while the center stays soft, so that golden-edges-soft-center moment is your target. I learned this the hard way by overbaking the first batch and getting crispy bars that felt like eating a cookie instead of a decadent bar, so now I set a timer for 23 minutes and check visually rather than relying on time alone.
Candy Substitutions Without Losing Your Mind
Life happens, and sometimes you can't find Cadbury mini eggs or pastel M&Ms, and that's okay. Regular M&Ms work beautifully if you want a classic look, while Cadbury Creme Eggs (chopped into smaller pieces) create a completely different experience with their liquid center. I've even used crushed Easter egg malts and gotten compliments, so the spirit of the recipe matters more than the exact candy choice.
Storage and Keeping These Around (If You Can)
These bars stay soft and chewy in an airtight container at room temperature for up to 4 days, though I've kept them longer by storing them between parchment layers. Freezing works too—wrap individual bars and they'll last a month, thawing in 10 minutes when you need a quick treat. I once made a double batch specifically to freeze and found myself eating them straight from the freezer because the cold made the candy shells snap satisfyingly.
- Store in an airtight container to prevent them from drying out or absorbing kitchen smells.
- Layer them between parchment paper so they don't stick together or compress unevenly.
- Let frozen bars come to room temperature for the best texture, though some people (me included) will eat them cold anyway.
 Save
Save These bars represent everything I love about baking: simple enough to make on a whim, impressive enough to share with confidence, and flexible enough to adapt to whatever candies you have on hand. The joy comes not from fancy technique but from combining good ingredients and respecting the bake, then watching people's faces light up when they taste them.