 Save
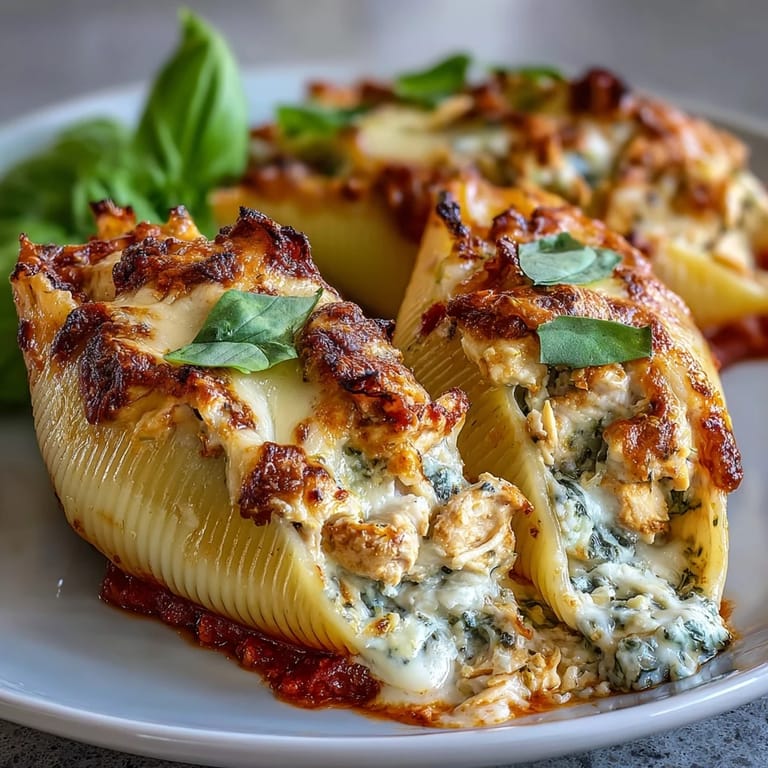
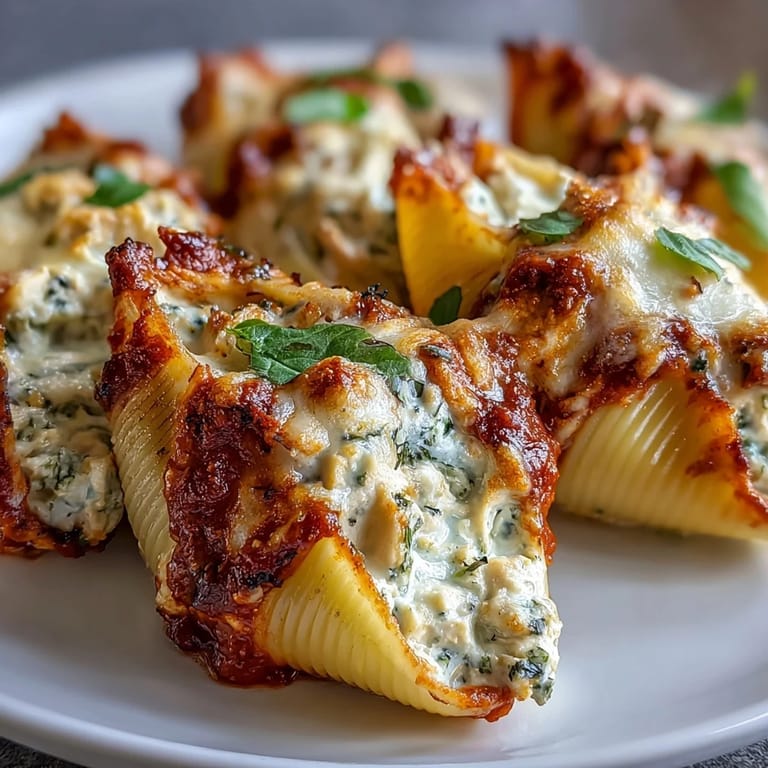
Save My sister called mid-afternoon asking if I could bring dinner to her place that night, and I realized I had exactly what I needed in the fridge: chicken, Greek yogurt, and a jar of pesto I'd been meaning to use. Stuffed shells felt like the right answer, but I wanted something lighter than the ricotta-heavy versions I grew up eating. That's when it clicked—what if I swapped in creamy Greek yogurt and let the pesto do the heavy lifting? The result was nothing short of magic: tender shells cradling this bright, protein-packed filling that somehow felt indulgent without the guilt.
When I brought that first batch to my sister's house, her kids actually asked for seconds—the real test of any dish in that household. She pulled me into the kitchen and whispered that she'd been trying to get them to eat more protein without the usual chicken nugget standoff, and somehow this had worked. Watching them scrape their plates clean while talking about how creamy the filling was felt like a small kitchen victory.
Ingredients
- Jumbo pasta shells: These need to be the large kind—small shells won't hold enough filling and regular pasta is basically a waste of good filling.
- Cooked chicken breast: Shred it finely so it distributes evenly through the filling and creates that creamy texture when mixed with the yogurt.
- Plain Greek yogurt: Use 2% or nonfat here—it's tangier than regular yogurt and won't make the filling watery, plus it adds serious protein.
- Basil pesto: Quality matters, but honestly store-bought is perfectly fine; just check the label if you're watching tree nuts.
- Parmesan and part-skim mozzarella: The combination gives you real cheese flavor without overdoing it on fat, and Parmesan won't get stringy the way whole milk mozzarella can.
- Large egg: Acts as a binder to keep the filling together and gives it a slightly fluffier texture when baked.
- Garlic, salt, and pepper: Don't skip these—they're what make the filling taste like actual food and not just yogurt with chicken.
- Marinara sauce: Use whatever you trust; homemade is wonderful but jarred saves you time and tastes just as good when it's baked into something.
- Fresh basil for garnish: Optional but genuinely changes the final moment—that bright green on top signals "I cared about this" even if it took five seconds.
Tired of Takeout? 🥡
Get 10 meals you can make faster than delivery arrives. Seriously.
One email. No spam. Unsubscribe anytime.
Instructions
- Get your oven and baking dish ready:
- Preheat to 375°F and lightly grease a 9x13-inch dish—this temperature is hot enough to melt the cheese and heat everything through without drying out the chicken. Having the dish ready means you won't be frantically searching for it while your shells cool.
- Cook the shells until they're barely done:
- Salt your water generously and cook the jumbo shells according to package directions until just al dente—they'll finish cooking in the oven, so slightly firm is your target. Drain them and spread on a clean kitchen towel to cool a bit so they're easier to handle without falling apart.
- Mix the filling by hand until everything knows each other:
- In a large bowl, combine the shredded chicken, Greek yogurt, pesto, both cheeses, egg, minced garlic, salt, and pepper and stir until completely incorporated. The filling should be creamy and well-distributed—no dry spots of chicken or pockets of yogurt.
- Build your base layer:
- Spread 1 cup of marinara evenly across the bottom of your prepared baking dish, creating a slight barrier so the shells don't stick. This is your insurance policy against a dry bottom.
- Stuff and arrange with care:
- Spoon about 2 tablespoons of filling into each cooked shell and arrange them open side up in the dish—they'll look crowded but that's correct. If you overstuff, the filling will escape during baking, but underfilling means you're missing the whole point.
- Top with sauce and cheese:
- Spoon the remaining marinara over all the shells and sprinkle the reserved mozzarella across the top. The sauce should be visible between the shells but not drowning them.
- Bake covered, then uncovered:
- Cover with foil and bake for 20 minutes to let everything heat through and the filling set. Remove the foil and bake another 8–10 minutes until the top is bubbly and lightly golden, which means the cheese has melted and the sauce is heating properly.
- Rest before serving:
- Let it stand for 5 minutes after coming out of the oven—this is not optional. It gives the filling time to set slightly so the shells don't immediately fall apart when you plate them.
- Finish with fresh basil if you have it:
- A light sprinkle of chopped fresh basil adds brightness and makes it feel restaurant-quality, even though it takes literally ten seconds.
 Save
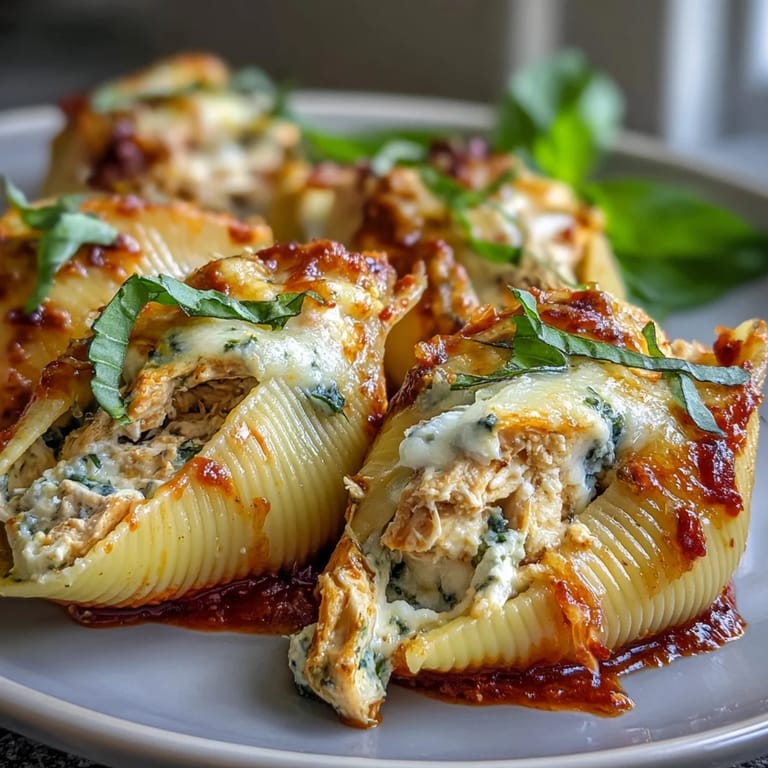
Save A few weeks later, my sister made it herself and texted me a photo of her kids actually eating vegetables because she'd hidden spinach in the filling. That one text—showing me that this recipe had somehow become part of her rotation—meant more than any compliment ever could.
Making This Your Own
The beauty of this recipe is how forgiving it is to personalization. I've added finely chopped spinach, sautéed mushrooms, sun-dried tomatoes, even crumbled sausage for nights when we needed extra heartiness. The pesto-yogurt base is flexible enough to carry whatever you're in the mood for, and honestly, that's when cooking stops feeling like following instructions and starts feeling like playing in the kitchen.
Timing and Make-Ahead Options
You can assemble this completely the day before and refrigerate it covered—just add 5–10 minutes to the baking time since it'll be coming out of the fridge cold. I've also frozen the filled shells before baking with good results; thaw overnight in the refrigerator before baking. The one thing I don't recommend freezing is the fresh basil garnish, obviously, but everything else holds beautifully.
Serving and Pairing Ideas
Serve this with a crisp green salad dressed in lemon vinaigrette to cut through the richness, and garlic bread if you're not worrying about carbs that night. A cold Pinot Grigio or even a sparkling water with fresh lemon feels right alongside it, and honestly, leftovers taste even better the next day when all the flavors have gotten to know each other.
- Pair with roasted vegetables like zucchini or bell peppers for a complete meal that feels restaurant-worthy.
- Double the batch and freeze half for a future night when cooking feels impossible.
- Leftovers reheat beautifully covered in foil at 350°F for about 15 minutes, so this is your friend for meal planning.
 Save
Save This recipe proved to me that lighter doesn't mean less satisfying—it just means cooking smarter. Make this when you want something that feels indulgent but doesn't require an apology the next day.
Recipe FAQ
- → Can I make these stuffed shells ahead of time?
Yes, assemble the dish completely, cover tightly, and refrigerate up to 24 hours before baking. Add 5-10 minutes to the covered baking time if baking cold from the refrigerator.
- → What makes this version lighter than traditional stuffed shells?
Greek yogurt replaces the traditional ricotta cheese, significantly reducing fat while maintaining creaminess. Part-skim mozzarella and measured portions keep calories moderate compared to classic versions.
- → Can I freeze pesto chicken stuffed shells?
Freeze assembled, unbaked shells tightly wrapped for up to 3 months. Thaw overnight in the refrigerator before baking, or add 15-20 minutes to the baking time if baking from frozen.
- → What can I serve with stuffed shells?
A crisp green salad with vinaigrette balances the richness. Garlic bread, roasted vegetables like broccoli or zucchini, or steamed green beans make excellent sides. Pinot Grigio pairs beautifully with the pesto flavors.
- → How do I know when the shells are done baking?
The cheese should be melted and lightly golden, with sauce bubbling around the edges. The filling should feel hot throughout when tested with a knife. Letting them rest 5 minutes helps set the filling for easier serving.
- → Can I use store-bought rotisserie chicken?
Absolutely—rotisserie chicken works perfectly and saves prep time. Simply shred about 2 cups of meat, discarding skin and bones. The seasoned flavor from rotisserie chicken adds extra depth to the filling.